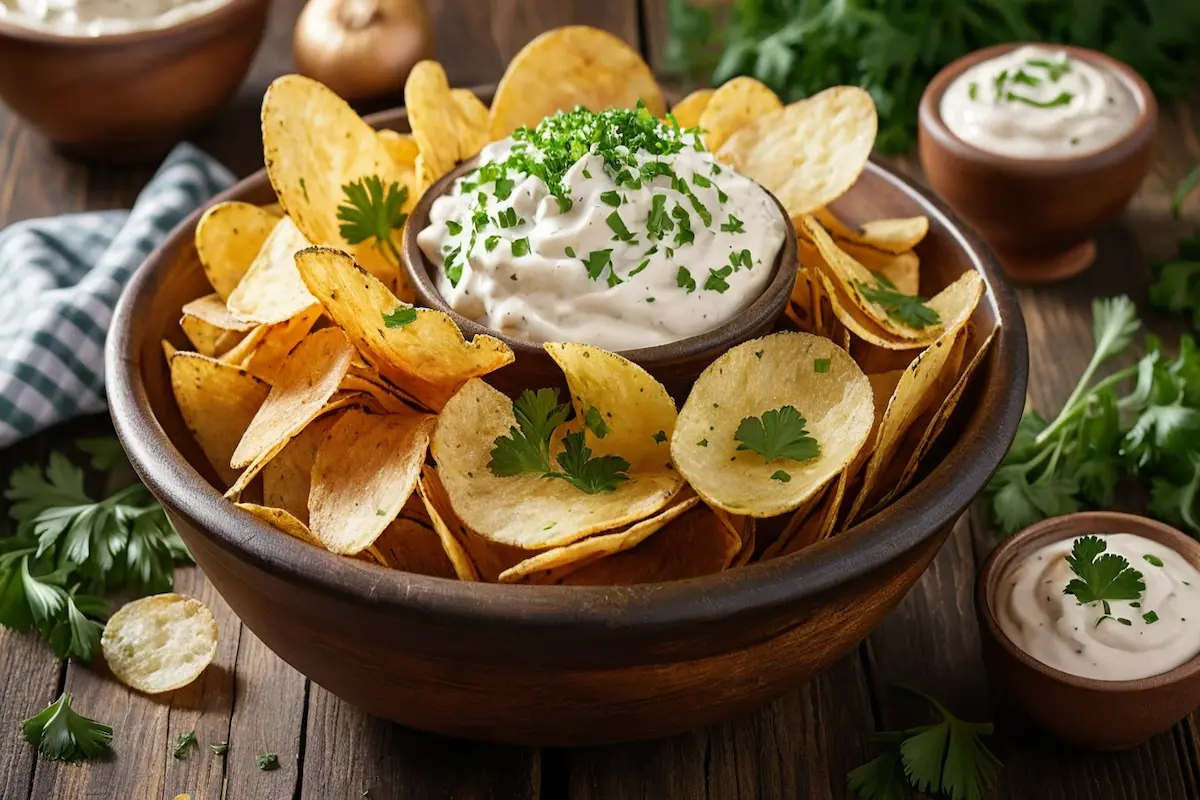
There’s nothing quite like the crisp, savory satisfaction of homemade sour cream and onion chips. These golden, crunchy delights pack all the flavor of store-bought chips without the preservatives, excess salt, or mystery ingredients. Whether you’re an experienced home cook or just starting, this step-by-step guide will help you create your perfect batch of chips, tailored to your tastes.
Why Make Sour Cream and Onion Chips at Home?
Homemade chips are a game-changer. They’re not only fresher and tastier but also give you complete control over what goes into them. You can avoid artificial flavors and adjust the seasoning to your liking. Plus, you have the flexibility to experiment with healthier cooking methods.
- Health Benefits: By using healthier oils or baking instead of frying, you can create a lower-fat snack.
- Customizable Flavors: Want a little extra onion kick or less salt? The choice is yours.
- Budget-Friendly: Homemade chips cost a fraction of what you’d pay for a premium bag at the store.
For more on how homemade snacks can fit into a healthier lifestyle, check out this ultimate guide to DIY snacks.
Choosing the Best Potatoes for Chips
The key to great chips lies in the potatoes. Some varieties work better than others depending on the cooking method and desired texture.
- Russet Potatoes: High in starch and low in moisture, russets are ideal for crispy, light chips.
- Yukon Gold Potatoes: These yield slightly thicker, buttery-flavored chips.
- Red Potatoes: Earthier and softer, red potatoes are less common for chips but still delicious.
Wondering which potato variety is the healthiest? This potato nutrition guide offers a great comparison.
Preparing the Potatoes
Proper preparation is essential for crispy, evenly cooked chips. Follow these steps:
- Wash and Peel
Rinse the potatoes thoroughly. Peeling is optional, as the skin adds a rustic texture. - Slice Uniformly
Use a mandoline slicer or sharp knife to achieve slices that are 1/16 inch thick. Uniform slices ensure even cooking. - Soak the Slices
Place the slices in a bowl of cold water and let them soak for at least 30 minutes. This removes excess starch and prevents the chips from sticking together. - Dry Completely
Drain and pat the slices dry with paper towels. Residual moisture can lead to soggy chips.
Crafting the Perfect Sour Cream and Onion Seasoning
The seasoning is the soul of sour cream and onion chips. Making your own ensures a vibrant, fresh flavor.
Ingredients:
- 3 tablespoons buttermilk powder
- 2 tablespoons onion powder
- 1 tablespoon garlic powder
- 1 teaspoon sugar
- 1 teaspoon dried parsley
- 1 teaspoon dried chives
- 1 teaspoon salt (adjust to taste)
Instructions:
- Combine all the ingredients in a spice grinder or food processor.
- Blend until smooth.
- Store in an airtight container.
Looking for more inspiration? Experiment with other flavor combinations using this snack seasoning guide.
Cooking Methods for Chips
1. Frying: The Traditional Method
Frying gives you the crispiest results, but it requires more oil and attention.
Steps:
- Heat vegetable or peanut oil in a deep pot to 350°F (175°C).
- Fry the slices in small batches for 2–3 minutes, or until golden.
- Drain on paper towels and immediately sprinkle with seasoning.
2. Baking: A Healthier Alternative
Baking uses less oil, making it a lighter option.
Steps:
- Preheat the oven to 400°F (200°C).
- Arrange the slices on a parchment-lined baking sheet in a single layer.
- Lightly brush or spray the slices with oil.
- Bake for 15–20 minutes, flipping halfway through.
- Season immediately.
3. Air Frying: The Best of Both Worlds
Air frying achieves a balance between crispiness and healthiness.
Steps:
- Preheat the air fryer to 375°F (190°C).
- Toss the slices lightly in oil.
- Place them in the air fryer basket in a single layer.
- Cook for 10–15 minutes, shaking halfway through.
- Sprinkle with seasoning while warm.
Not sure which cooking method suits you? Check out this guide to air frying for tips.
Flavor Variations to Try
While sour cream and onion is a classic, you can customize your chips with other seasoning blends:
- Cheesy Garlic: Add grated Parmesan and extra garlic powder.
- Spicy Chili Lime: Mix in chili powder and lime zest.
- Herb Garden: Try dried dill, rosemary, or thyme for a fresh twist.
Storing Your Homemade Chips
To keep your chips fresh and crispy, follow these storage tips:
- Let the chips cool completely before storing to avoid condensation.
- Use an airtight container or resealable bag.
- Add a silica gel packet or paper towel to absorb moisture.
- Store in a cool, dry place and consume within 5–7 days.
Frequently Asked Questions (FAQs)
Can I Make These Chips Dairy-Free?
Yes! Substitute the buttermilk powder with a plant-based option like coconut milk powder.
What’s the Secret to Extra Crispy Chips?
Soak the slices longer, dry them thoroughly, and cook in small batches to avoid steaming.
Can I Use Sweet Potatoes?
Absolutely. Sweet potatoes add a natural sweetness that pairs beautifully with savory seasonings.
Conclusion
Making homemade sour cream and onion chips is a fun, flavorful, and rewarding experience. By using fresh ingredients, experimenting with different cooking methods, and trying new seasoning blends, you can create a snack that’s uniquely yours. Whether baked, fried, or air-fried, these chips are guaranteed to be a hit.

